Creating a classroom page on AdoptAClassroom.org is the first step in receiving the resources you need most for your classroom.
Think of your AdoptAClassroom.org classroom page as the primary method of sharing your classroom’s unique story. This page can be searched by donors on AdoptAClassroom.org, and even shared directly within your communities.
Please Note: You have the option to make your page private if you’re only registering on AdoptAClassroom.org to apply for our grants or to spend a donation you received from one of our sponsors. We recommend making your page public so donors can see your page and make a donation, but it’s not mandatory to use AdoptAClassroom.org.
Creating a page is easy. Just follow the steps below, and you’ll be on your way to funding your classroom and accessing our online marketplace.
Step 1: Select Your School
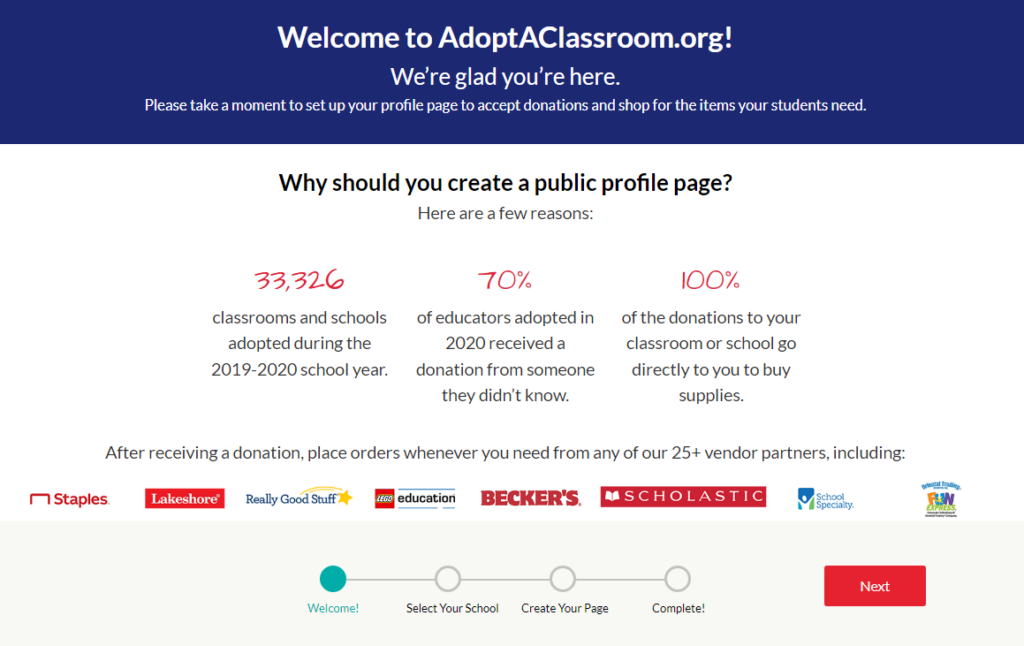
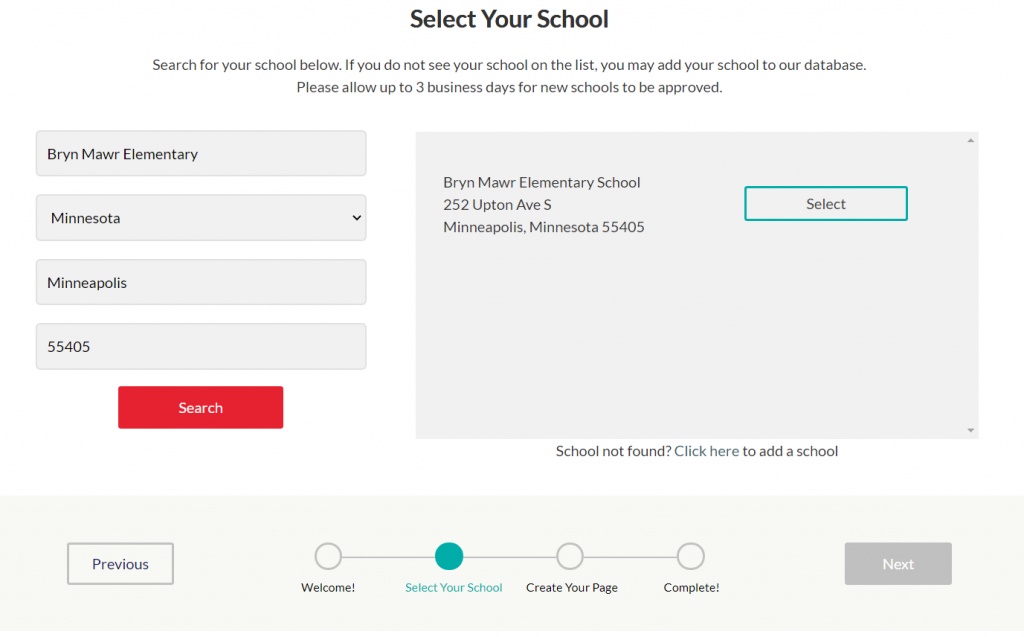
1. After registering login to AdoptAClassroom.org and you’ll be asked to set up your classroom page. Click the “Next” button to begin the first step of selecting your school.
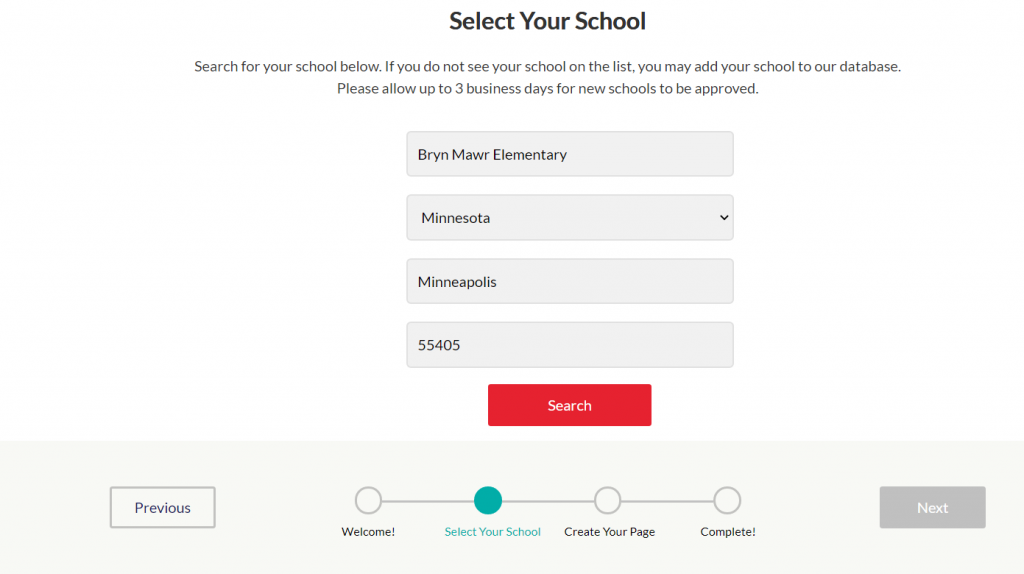
2. Enter your school’s name, state, city, and/or zip code.
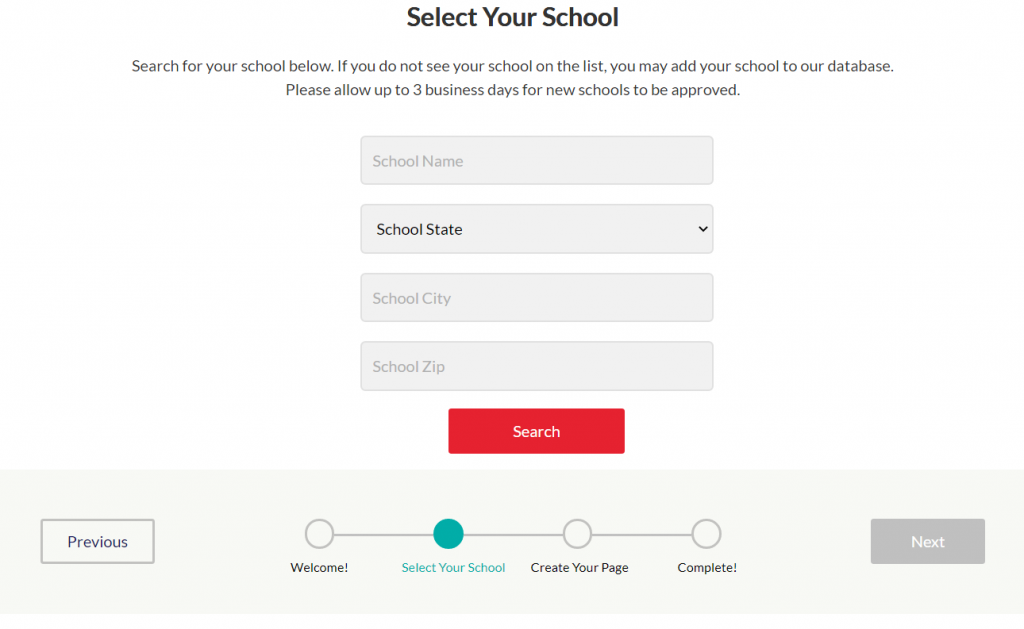
3. Click the “Search” button once all of your school’s information is entered.
4. If your school is in the AdoptAClassroom.org database, it will appear on the right side of the screen. Click the “Select” button if the school’s name and address are accurate.
Please note: If your school doesn’t appear after you click the “Search” button, try editing your search criteria and try again. If that doesn’t work, look to the right of the “Search” button where it says “School not found? Click here to add a school.” Click where it says “Click here” and you can request to have your school added to our database.
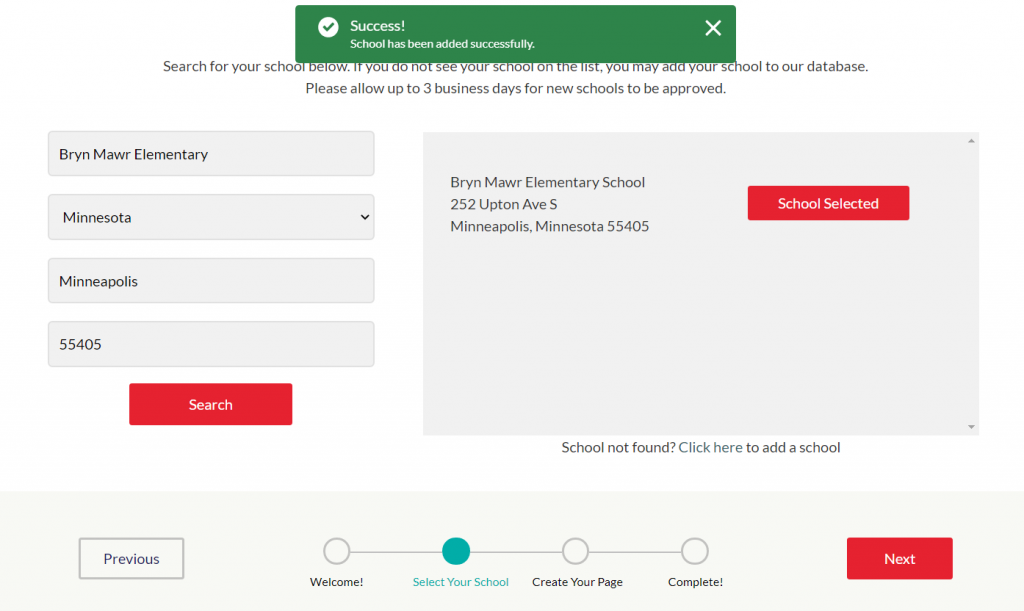
5. Once you select your school, press the “Next” button on the bottom right-hand corner of the page.
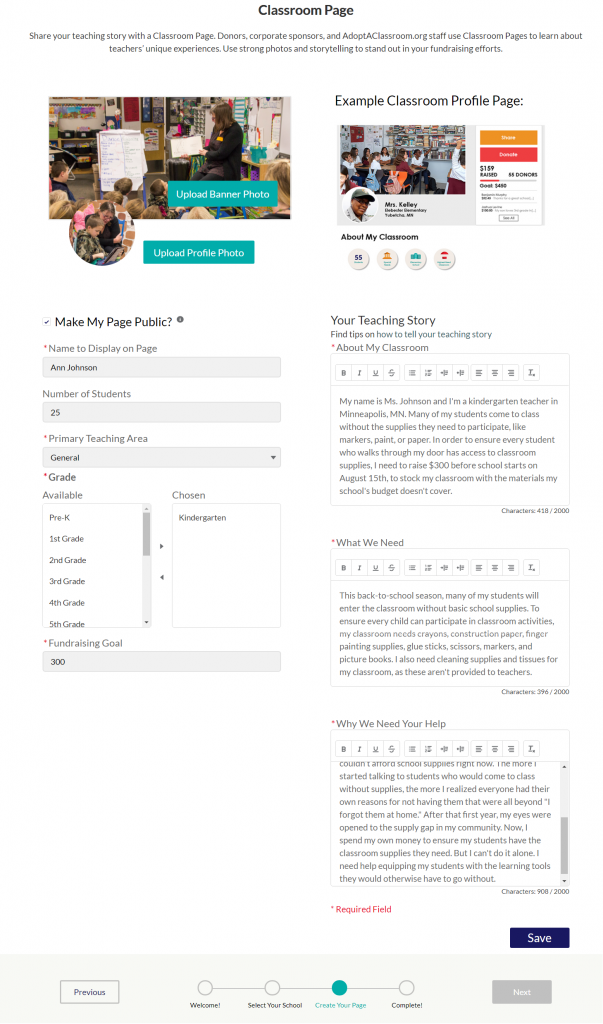
Step 2: Upload Photos to Your Classroom Page
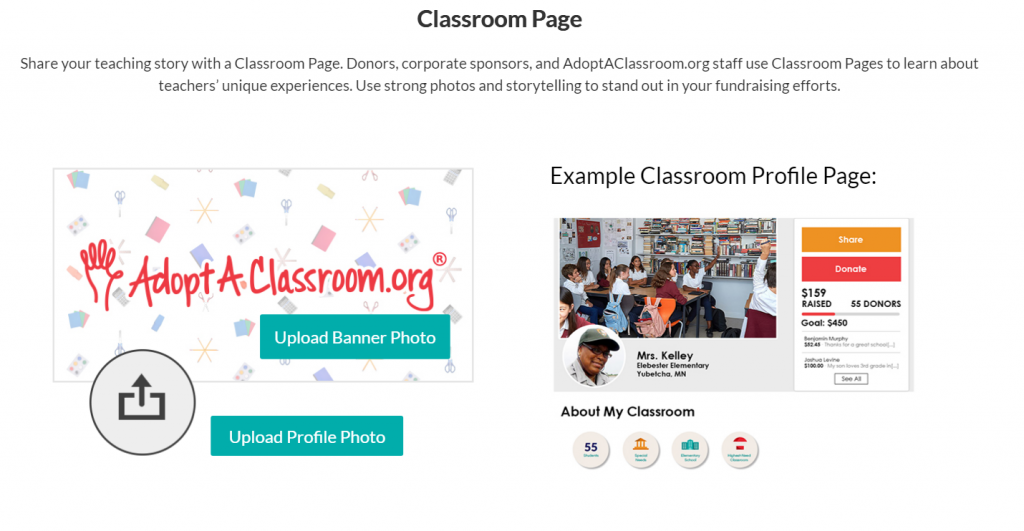
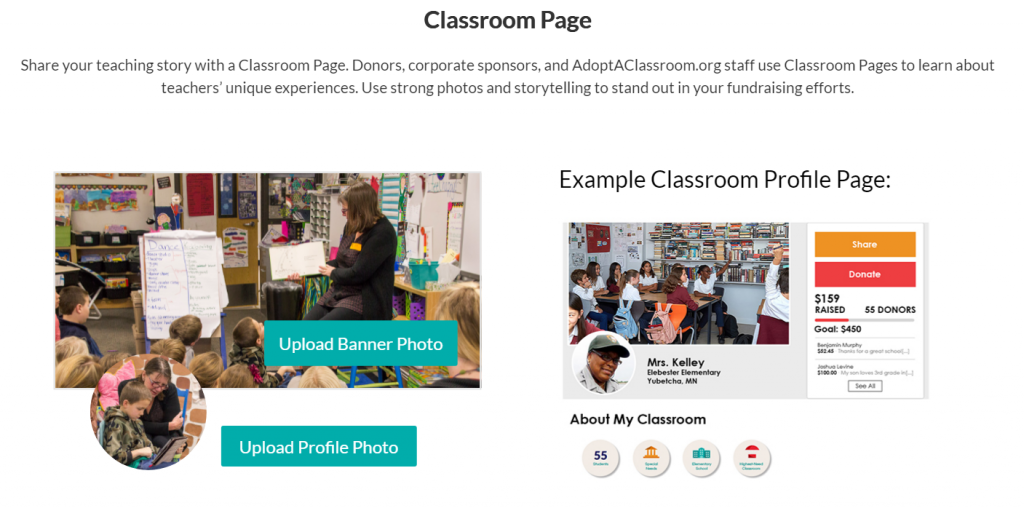
1. Before uploading a banner photo and profile photo that will appear on your classroom page, view the example classroom page on the right of the screen to get an idea of how these photos appear on your classroom page.
Please Note: We require all public teacher accounts to have a profile picture. If you are not comfortable using a picture of your face, that’s okay! We’re happy to see your smiling bitmoji, a picture of your classroom, or an image of school supplies.
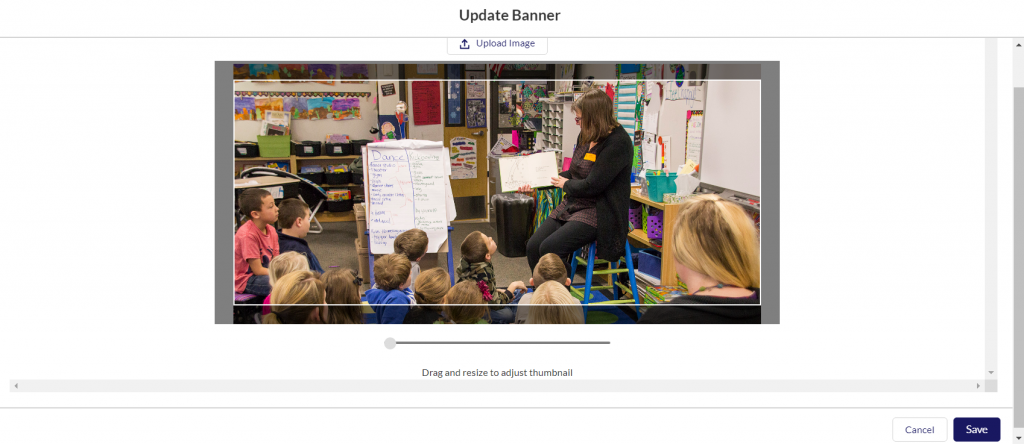
2. To add a banner photo, click the “Upload Banner Photo” button.
3. Click the “Upload Image” button, and select a photo from your computer to upload.
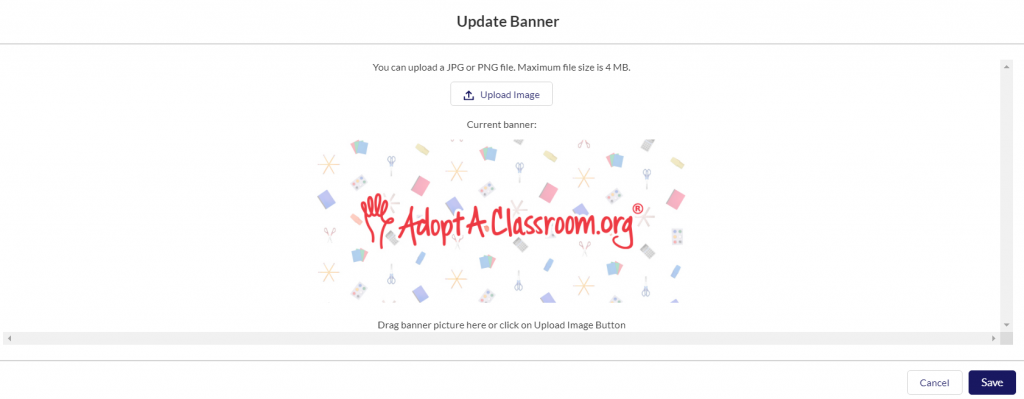
4. You can then use the slider below the image to zoom in or out of your photo.
5. Once the image is adjusted to how you like it, click the “Save” button on the bottom right-hand corner of the page.
6. To upload a profile photo, click the “Upload Profile Photo” button.
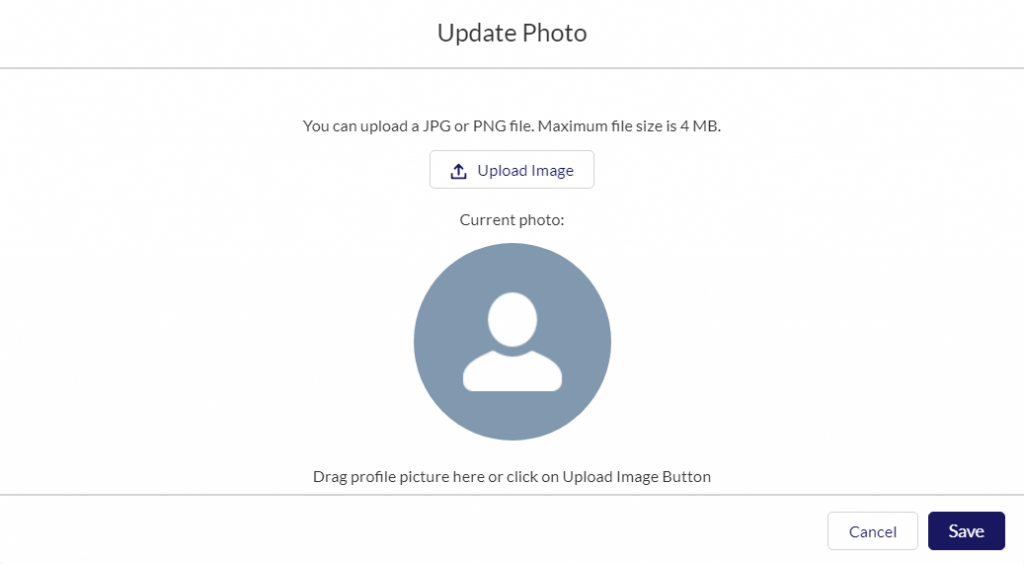
7. Click the “Upload Image” button, and select a photo from your computer to upload.
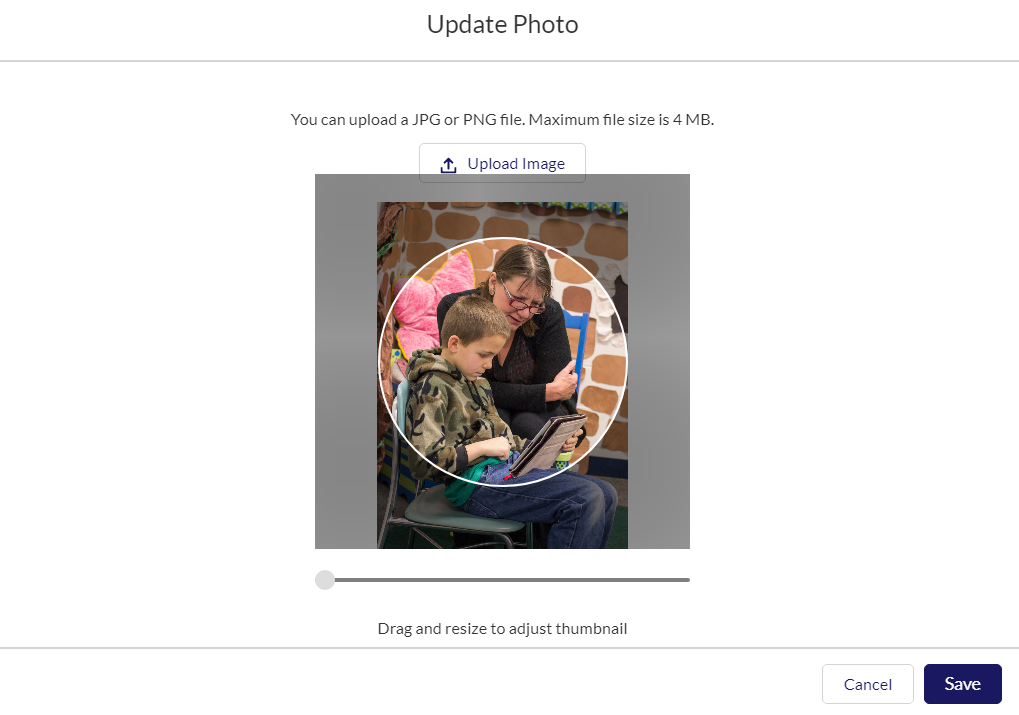
8. You can then use the slider below the image to zoom in or out of your photo.
9. Once the image is adjusted to how you like it, click the “Save” button on the bottom right-hand corner of the page.

10. Once you upload a banner photo and profile photo, you will be able to see how they look uploaded. If you like the images, scroll down to continue creating your classroom page. If you want to change an image, repeat steps 2-5 to upload a new banner photo, and repeat steps 6-9 to upload a new profile photo.
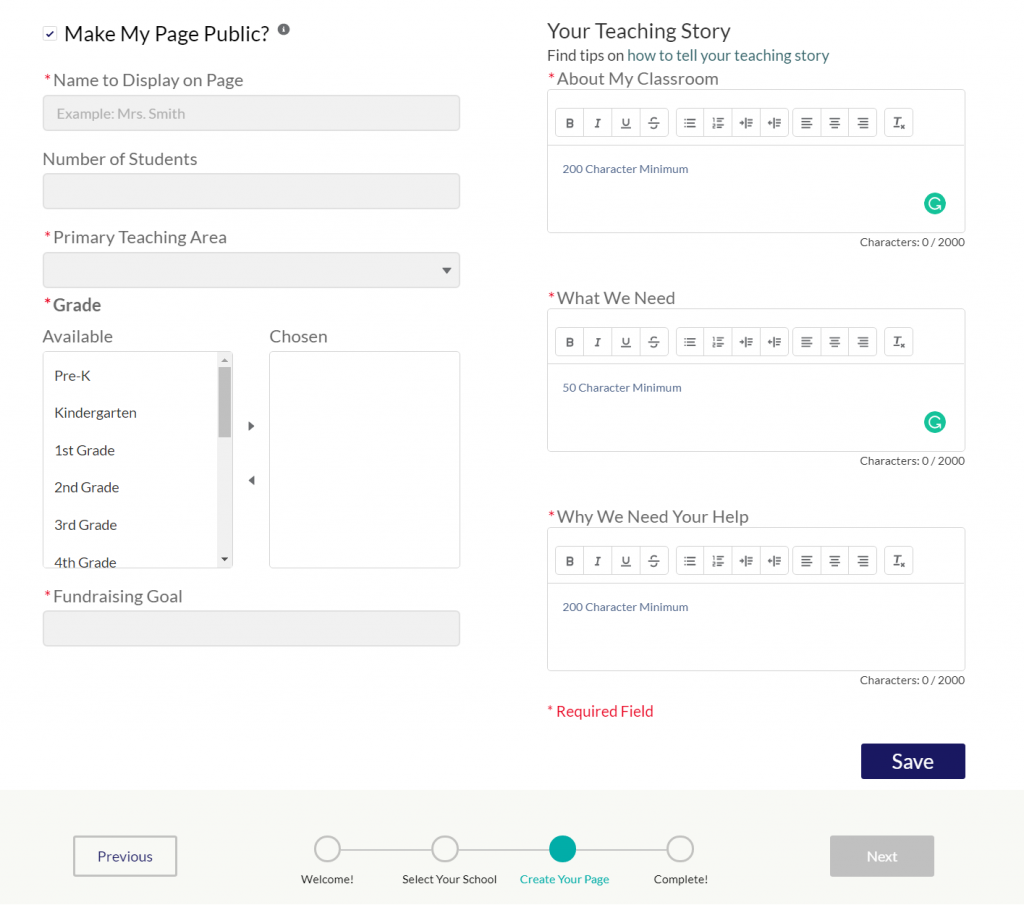
Step 3: Create Your Classroom Page
1. Tell your classroom’s story by filling out the information about your classroom and need for donations. All the information that you enter here will appear on your classroom page for potential donors to see. If you want to make your page private, so that potential donors cannot see your page, you can uncheck the box next to “Make My Page Public?”
Need help writing about your need for donations? Read our guide on how to ask for donations in your classroom page here.
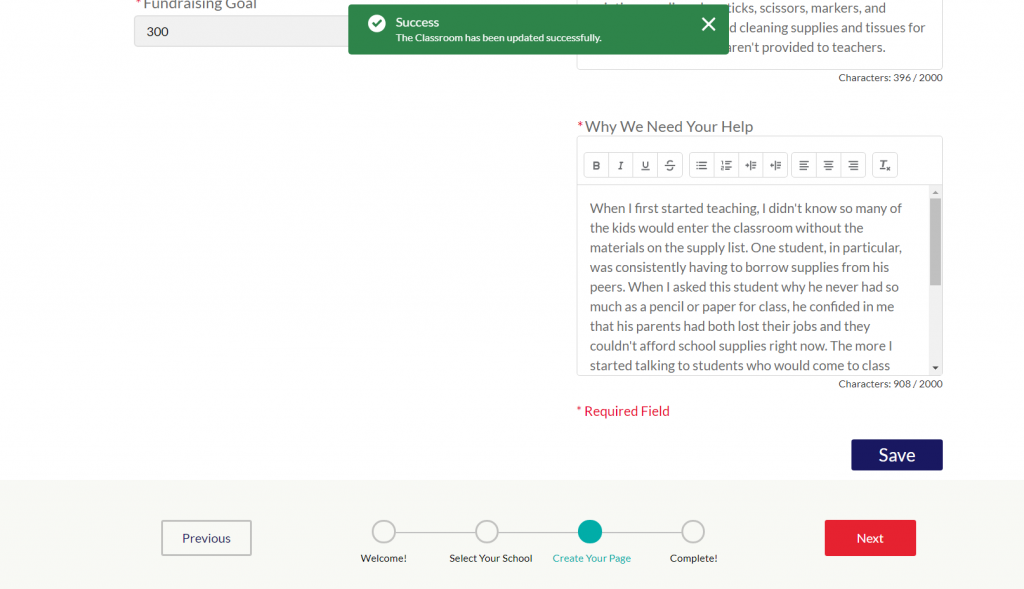
2. Once your classroom page is filled out, click the “Save” button on the bottom right-hand corner of the page.
3. Once you save, click the “Next” button at the bottom right-hand corner of the page to publish your classroom page and be eligible to receive donations.
4. Now that your classroom page is officially created, you will be eligible for donations on AdoptAClassroom.org!
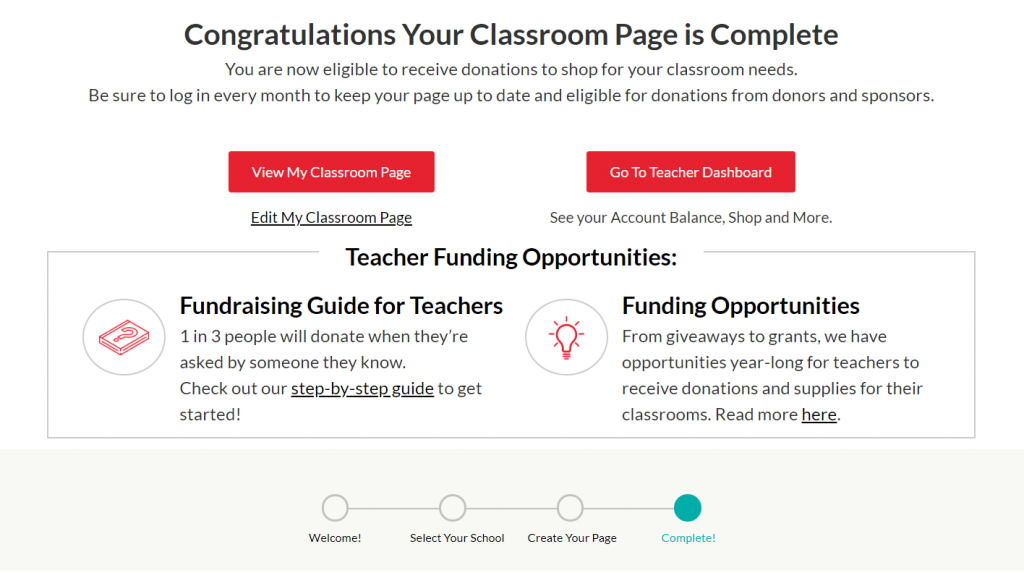
5. Click the “View My Classroom Page” button if you would like to view the page potential donors can see.
6. Click the “Go To Teacher Dashboard” button to check your account balance, shop for school supplies, and to view our fundraising resources and AdoptAClassroom.org news.
If you have any questions about creating a classroom page on AdoptAClassroom.org, reach out to us at [email protected] and we can help!